Creating Google Classroom
Follow these steps to create a class:
- Open a Web browser and go to classroom.google.com. You have to sign in with your Google Apps for Education account.
- On the Welcome screen, click the plus sign at the top and choose Create Class.
- In the Create a Class dialogue box, type in the Class Name and Section.
- Click Create.
Your new classroom is created (see Figure 1). You can see that the classroom has three main tabs. Here’s what those tabs mean:
- Stream: This is where you manage your class assignments and make announcements to the class. You can add new assignments, with due dates and attached materials. Upcoming assignments are shown at the left. Also, just with social media services, you can send a message to your entire class — even with an attachment.
- Students: This is where you manage your students. You can invite students to your classroom from here and manage their permissions level. To invite students to your class, you have to set them up as Google Contacts in your Google Apps for Education account or they have to be in the school’s directory.
- About: This is where you can add the course title and description, add a location for the class, and add materials to your class’s Google Drive folder.
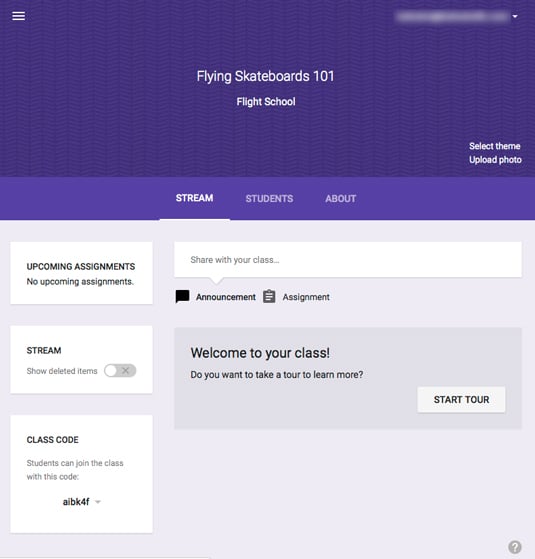
Figure 1: Your new classroom.


